Durata de livrare: 1 - 3 zile lucratoare
- Descriere
- Review-uri (1)
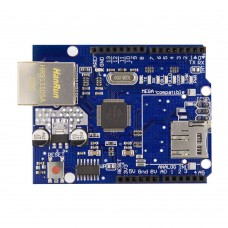
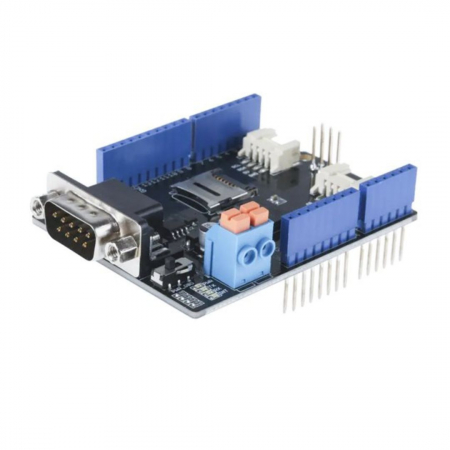
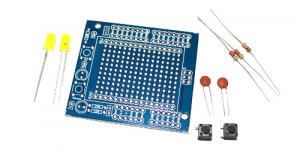
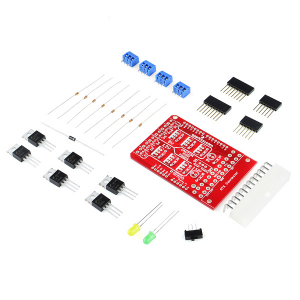
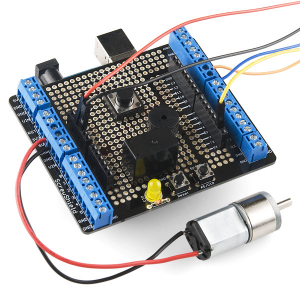
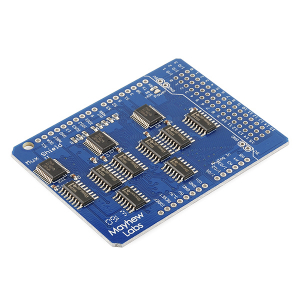
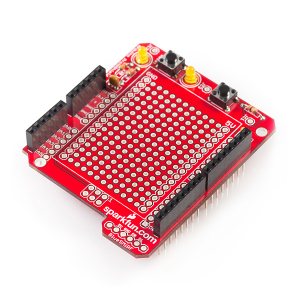
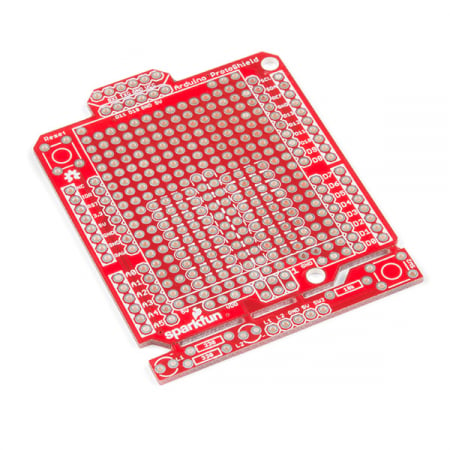
Shield Joystick pentru Arduino.
Exemplu:
char button0=3, button1=4, button2=5, button3=6;
char sel=2;
void setup(void)
{
pinMode(sel, INPUT); //Set the Joystick 'Select'button as an input
digitalWrite(sel, HIGH); //Enable the pull-up resistor on the select button
pinMode(button0, INPUT); //Set the Joystick button 0 as an input
digitalWrite(button0, HIGH); //Enable the pull-up resistor on button 0
pinMode(button1, INPUT); //Set the Joystick button 1 as an input
digitalWrite(button1, HIGH); //Enable the pull-up resistor on button 1
pinMode(button2, INPUT); //Set the Joystick button 2 as an input
digitalWrite(button2, HIGH); //Enable the pull-up resistor on button 2
pinMode(button3, INPUT); //Set the Joystick button 3 as an input
digitalWrite(button3, HIGH); //Enable the pull-up resistor on button 3
Serial.begin(9600); //Turn on the Serial Port at 9600 bps
}
void loop(void)
{
Serial.print(analogRead(0)); //Read the position of the joysticks X axis and print it on the serial port.
Serial.print(",");
Serial.print(analogRead(1)); //Read the position of the joysticks Y axis and print it on the serial port.
Serial.print(",");
Serial.print(digitalRead(sel)); //Read the value of the select button and print it on the serial port.
Serial.print(digitalRead(button0)); //Read the value of the button 0 and print it on the serial port.
Serial.print(digitalRead(button1)); //Read the value of the button 1 and print it on the serial port.
Serial.print(digitalRead(button2)); //Read the value of the button 2 and print it on the serial port.
Serial.println(digitalRead(button3)); //Read the value of the button 3 and print it on the serial port.
//Wait for 100 ms, then go back to the beginning of 'loop' and repeat.
delay(100);
}
Linkuri:
Suport clienti Email tehnic si cereri de oferta B2B: contact@robofun.ro
+40 373 813 088 info@robofun.ro

![Joystick Shield [1] Joystick Shield [1]](https://gomagcdn.ro/domains/robofun.ro/files/product/large/joystick-shield-1-216774-66-238581.jpg)
![Joystick Shield [2] Joystick Shield [2]](https://gomagcdn.ro/domains/robofun.ro/files/product/large/joystick-shield-5-957977-66-307188.jpg)
![Joystick Shield [3] Joystick Shield [3]](https://gomagcdn.ro/domains/robofun.ro/files/product/large/joystick-shield-4-465559-66-382652.jpg)
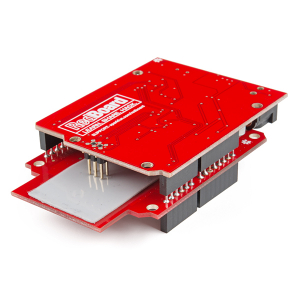
![Joystick Shield [4] Joystick Shield [4]](https://gomagcdn.ro/domains/robofun.ro/files/product/large/joystick-shield-3-242187-66-723369.jpg)
![Joystick Shield [0] Joystick Shield [0]](https://gomagcdn.ro/domains/robofun.ro/files/product/medium/joystick-shield-1-216774-66-238581.jpg)
![Joystick Shield [1] Joystick Shield [1]](https://gomagcdn.ro/domains/robofun.ro/files/product/medium/joystick-shield-5-957977-66-307188.jpg)
![Joystick Shield [2] Joystick Shield [2]](https://gomagcdn.ro/domains/robofun.ro/files/product/medium/joystick-shield-4-465559-66-382652.jpg)
![Joystick Shield [3] Joystick Shield [3]](https://gomagcdn.ro/domains/robofun.ro/files/product/medium/joystick-shield-3-242187-66-723369.jpg)
.jpg-3110-9772.jpg)

Ioan Popovici,
Cateva dintre linkurile de mai sus nu sunt corecte.
RaspundeA fost util acest review?